The first fire grate I am using is a register grate. Most people (including me) would call it a hob grate as it has two hobs either side of the fire, but it also has a back plate - the register - to protect the chimney wall and direct the heat. These were the first fitted fires!
The hob grates were used right through the house in varying sizes and for different purposes the largest could be used for cooking; the smallest in a bedroom or other small room might just be useful for heating water or curling irons or anything else that we now just plug into a socket to heat up.
A nice middling size such as this would be sold as a parlour grate and it was quite common to keep a small kettle on one of the hobs to make your guests tea and to 'top up' the pot or maybe keep the hot chocolate warm.
Mine is going in Dalton's parlour - though I confess I see it as a modern gas fire copy of the original Georgian which may have been in there. I don't want poor Eileen to have to haul coals all round the house to light the fires in 2016 so we'll just settle for replicas. It saves on companion sets, fenders, coal hods and coal. More the search for suitable ones rather than the cost.
The photo below was the inspiration piece for the finish on all my fires - I didn't want black cast iron as you lose so much detail and I didn't want stainless steel as it is too bright - I like this pewter look.
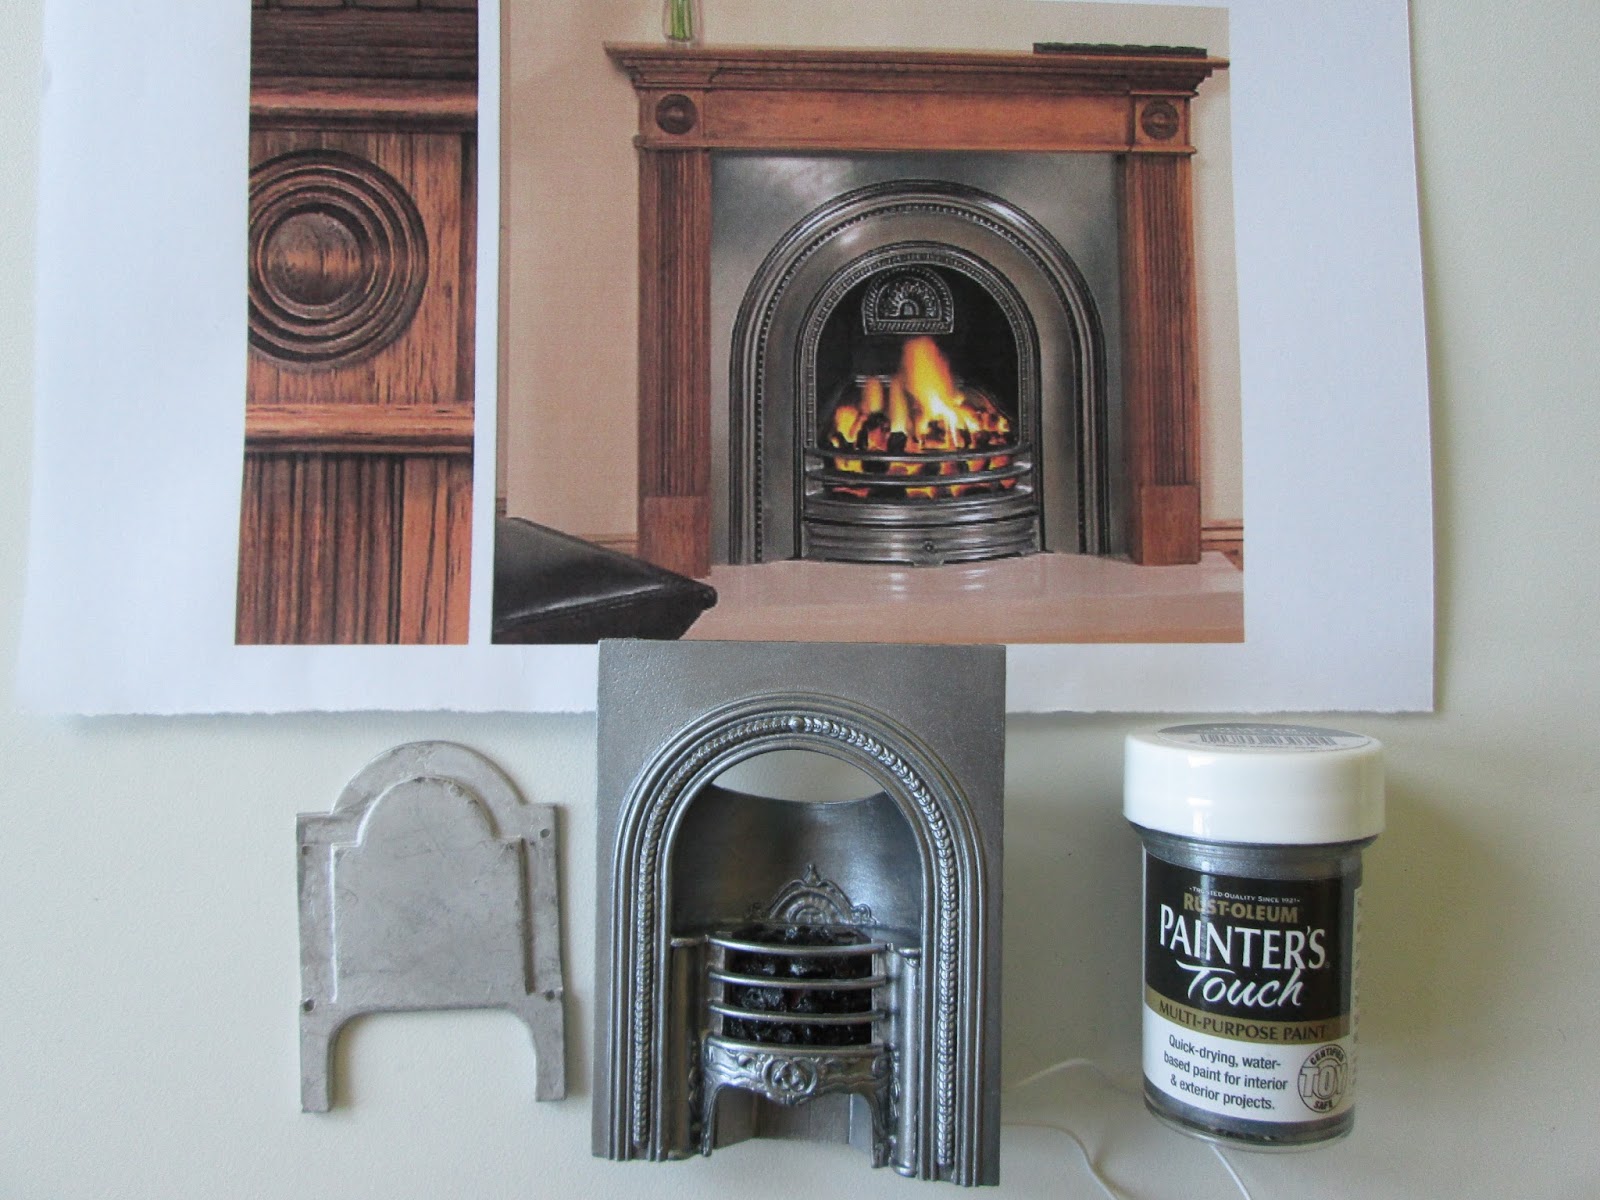
The fire kits from Phoenix are made in pewter (?). If you look at the unfinished piece of kit on the left of this photo you can see it is a pale, 'rough', sort of finish. I bought some fabulous paint from a range of tiny pots called 'Painters Touch' in B & Q and gave the grate a couple of thin coats. It evens up the surface colour and gives a slight sheen and highlights the patterns in the metal - all round I am very pleased.
If you go to B & Q, seek out this stand of specialist paints they have some great stuff, metals, chalk paint all kinds of things and in tiny pots you can afford.
Incidentally these metal kits should be glued together using a two part epoxy. I have done that with previous kits but, this time, I just used a gel superglue and it seems fine. It isn't something that will be mauled around so I am expecting it to stay together without problems.

Click on the photo to get a screen size version for a better look.
(16/05/16)
No comments:
Post a Comment
To prevent spam your comments come to me first. I will be as fast as I can to post them and reply. Please do leave a message.