Saturday 25 March 2017

Take a breather

I am not alone in mini world in believing that 'thinking' is a huge part of 'doing'.  I suspect I spend as more time 'off' the project thinking about it, researching for it, problem solving, shopping, seeking inspiration than I am actually hands on doing.

Now and then I gather all my thoughts and clobber together and see just how much of the house I am able to complete.  I dress each room as much as I can, using the furniture I will keep for that room and other stuff as stand-ins just to give me an idea of what's to come.

From this I can figure out what I might need to complete the room and the order of work.

So this is where I am up to:

The basement which has the Rec Room, the Hive and the Mud Room, is finished other than collecting a gazillion little bits and pieces to dress the three rooms.

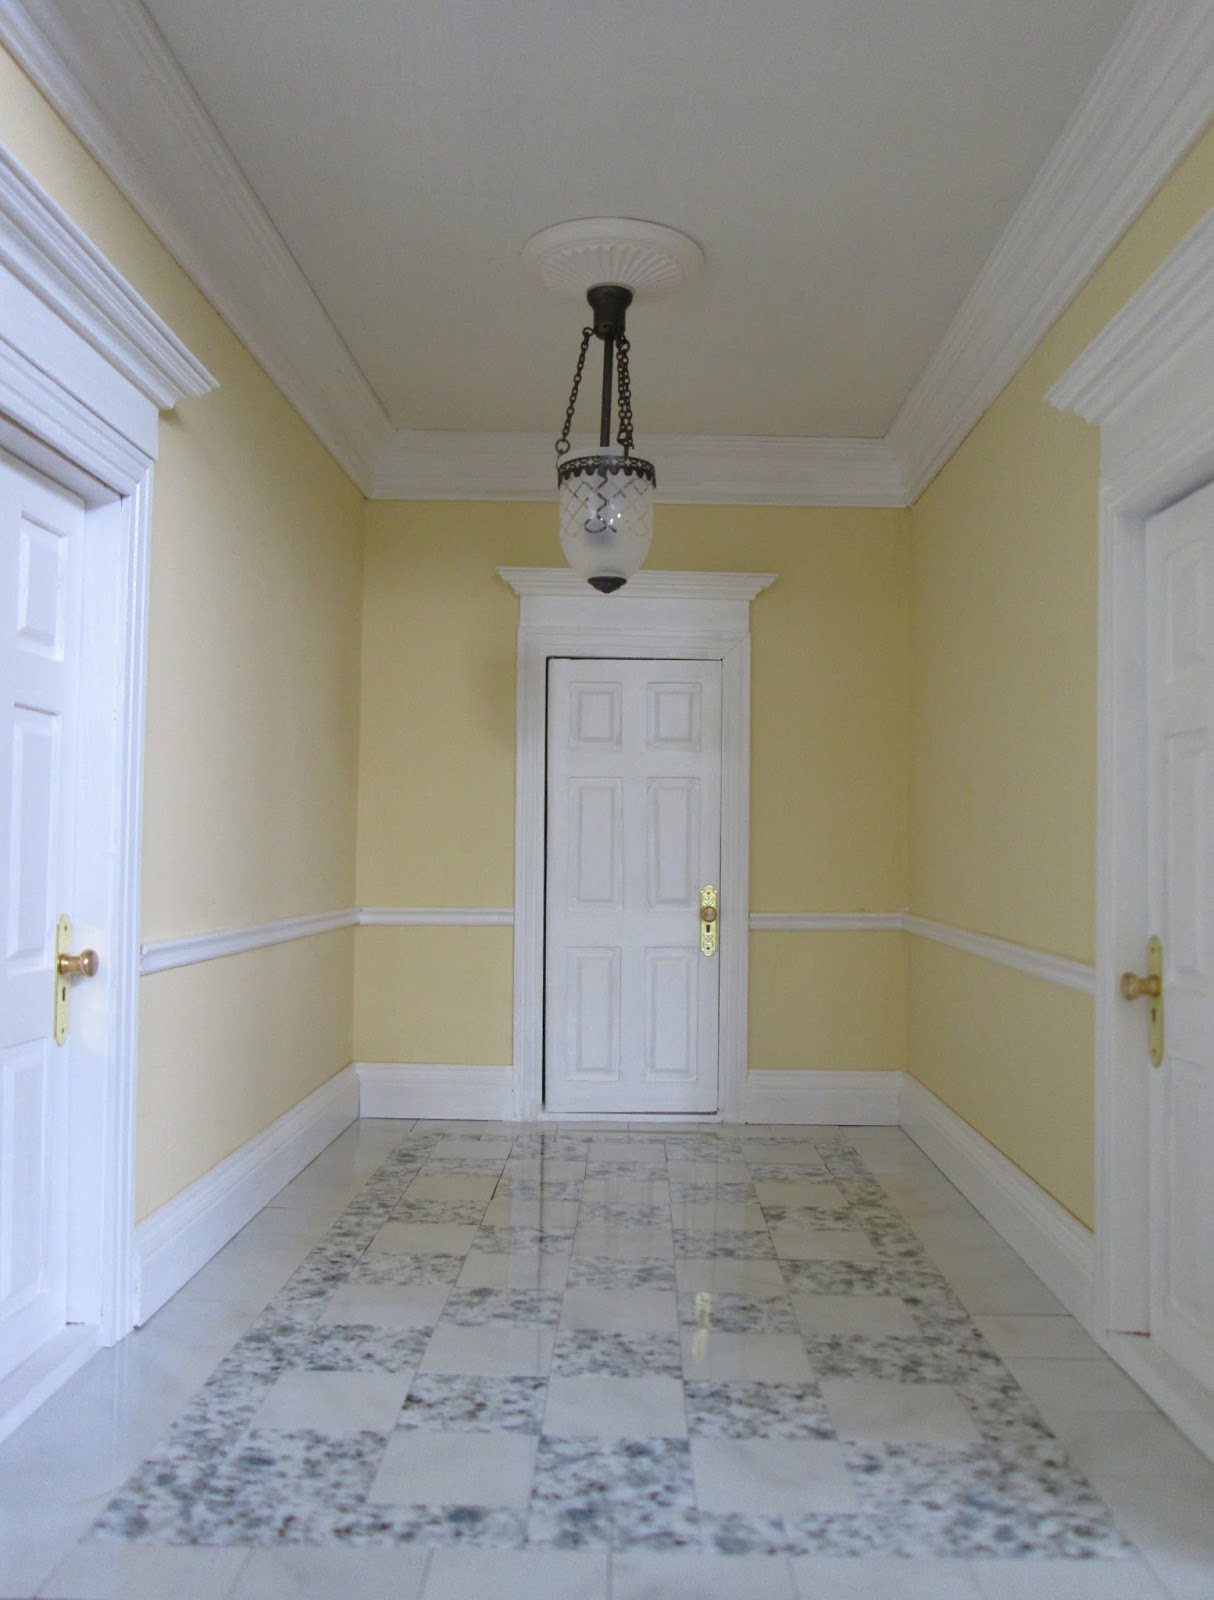
The ground floor which has the Dining Room and the Vestibule and the small Sitting Room, is fully decorated and lit except for a couple of lamps and one ceiling rose.  I also have most of the furniture.


Dining Room using some stand in furniture

Sitting Room using stand in table and mirror


The upstairs which has the Music Room and the Library is where I am working now and has some furniture waiting for it, which is helping me find where to put the fire and lights etc.


Music Room - a mix of keepers and chuckers

Library with proper table and chair and some stand ins


The attic level which has the Bedroom (bathroom off there) and open plan Kitchen and Sitting Room seems a long way off right now, but I need to be working towards it in case I find things at a show that would be useful for it. 


kitchen and sitting room - paper cupboards


bedroom - paper bed and cupboards and borrowed desk


Doing this dress rehearsal has the benefit of clearing up my work area and, being a bear of tiny brain, I need a clear pathway to enable clear thinking.  I can keep my perpetual shopping list up to date and order anything practical that I am going to need to let me get on with the step after the one I am currently working on.  I hate being held up for a door knob or something silly like that.

Hope you had fun deciding which pieces are staying in which room and which things were stand-ins.


- - - - - - - - - - - - - - - - - - - - - - - - - - - - - 

I thought I might just do a post scrip in case it helps somebody.

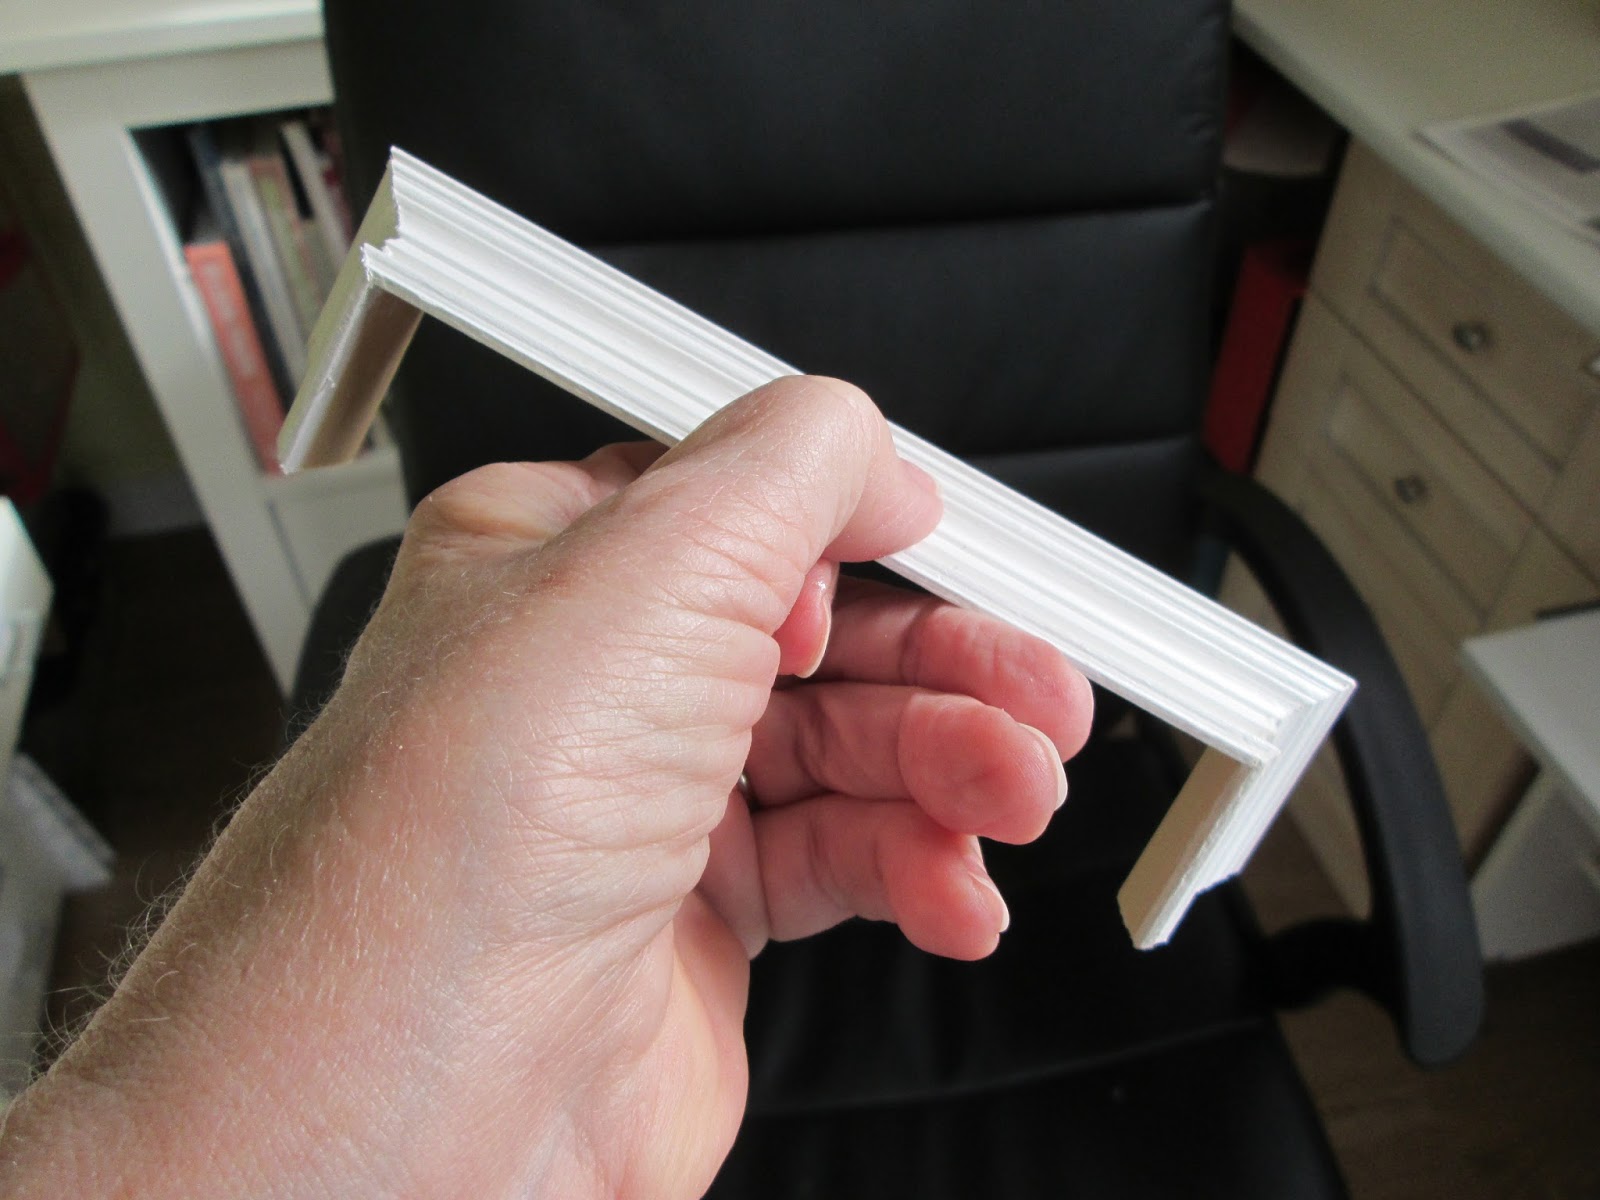
While I was having my grand tidy up I dropped a plaster ceiling rose (aaarrggghh).  If you are lucky and it breaks leaving you all the pieces you can fix it and use it.

two pieces broken out

the solution


I peeled off one side of double sided sticky tape (it is very, very thin) and stuck the pieces carefully in place.  I then trimmed off the surplus tape.  The fine cracks will fill in perfectly if you want to put a coat of paint over it.  I am not even bothering to do that - they really are not visible when its on the ceiling.  When I come to stick the rose in place I will remove the other covering from the tape and the exposed double sided tape will help in the process of sticking the rose to the ceiling.

Moral of the story is don't bin something in a temper (as I nearly did) put it aside for a while and see if you can find a solution.

Saturday 18 March 2017

A cautionary tale

I have heard about mini folks chopping of various bits of appendages whilst working on some project or another and wondered how they did this.  Surely, when concentrating on something small you know exactly where your bits are in relationship to a sharp implement.  It is a curse being smarter than everyone else!


I was cutting 1/16th cardboard and managed to slice off the top right corner of this digit including finger nail.  Received wisdom says if it is still hanging on by a thread stick it down with superglue so it can heal.  Why this is a step too far for me I have no idea, so mine is fastened back on to my finger with two tight Bandaides and my other fingers remain crossed that it joins back up again.

So, please, please..... if you do lots of steel ruler (yes mine was steel) and sharp knife cutting do not be a cheapskate like me - buy a proper one..... with a protective edge (or any other safety feature), like this one .......


Image result for cutting ruler images

Here's what I was doing before slashing flesh stopped play.

I've messed about with a ton of notions for the small library but in the end I decided to keep it simple.  Firstly, put the door at the back of the room so we can see into the corridor behind.  Then have bookshelves on that wall and the two adjoining side walls.  The dolls house hinge impinges on the right hand wall so I don't want to bring the shelves right to the front edge.  this gives me the opportunity to add in a little furniture.  There will be two corner chairs (actually corner shaped) and a small work table and chair and bob's your whiskers.

Being unable to visualise stuff in 3D, I decided to mock up the shelves to see how they looked in terms of volume - hence the cardboard/finger slice disaster.


This is just stand-in furniture and won't be used here.


There will be a four foot wide (RL measurment) bookshelf either side of the door with a shelf and trim running over the door connecting them.  On each side wall will be a six foot bookshelf, probably divided down the centre into two three foot wide sections.  All with cupboards underneath.


I don't want corner shelf units as they eat up the space and they don't accommodate books very well; so mine will just have a simple butt join.  Right now the idea is to top them with small plain coving which will then continue round the room.  The bottom edge will be trimmed with skirting board and also continue round the room.

I am pretty sure I want them painted rather than the usual brown wood.  This would be in keeping with their original incarnation..... here's my two year old description of this room .....

Library
This room was originally a service room for the dining room (now the music room) and had built in shelving around the room for dishes etc.  It seemed an ideal place to store Elizabeth's massive collection of seventeenth and eighteenth century books.  There is no fireplace here and the room now has a sophisticated system to control the temperature (constant 70 F), light (automatic shades at the window and individual 'spot' lighting where needed) and humidity (50%).

This is more a book repository than a working library.  Elizabeth tends to do most of her work in her office which is located on the ground floor in one of the old service rooms. However, there is a small table and some chairs in case books are just being used for a short while and don't need to be taken out of the room.


(25/09/16)


Saturday 11 March 2017

Great storage tip.

Where do you keep your wallpaper and flooring?  Mine has been stored, gently rolled, in some very nice under-bed boxes.


they have castors and they stack nicely

the wallpaper box

This worked OK other than the paper is not flat so they faddle about when you are cutting it and every time you want to look through what papers you have, they all have to come out and be mauled around to find the one you want.

Thanks to mini-chum Irene, who is always full of good ideas, here's the brainwave she came up with.


Under a tenner and no postage, from EBay.  This particular Tiger brand does books with 10, 20 and 40 pages.  I considered ten pages, being a cheapskate, but pushed the boat out for a twenty page version.  The theory being it will be useful for years to come as I acquire a bit more wallpaper here and there.

I settled down to happily stuffing  it full of favourite things!  Twenty full pages later I am now wondering whether to open a dolls house wallpaper shop.


(25/09/16)


Saturday 4 March 2017

Ground Floor finished

Well 99.9999% finished - I still have to buy a ceiling rose for the dining room and (at the time of writing this) I am still a couple of days away from a dolls house show so I am hanging on for a particular one.

Before showing you the three rooms on this floor, I just want to add a little bit to the stuff I wrote about doing the trims in a room a few posts ago.  When I do the coving that wraps round the chimney breast I make that as a 'finished' wrap-around piece.  That way I can get it as good as I can before it goes in place because I think that these coving joins are the ones that show up the most in a room.

I glue the pieces together on a right-angled jig to make the corners as good as I can.


glued in place - first fit with all its rough bits

after a bit of a buff and paint touch up

three-sided piece ready to go in place

With that in place the dining room is pretty much done - as I said I want a subtle and thin ceiling rose like the one in the sitting room for this room before I fix the light in place for real.


So, here are the three rooms on the ground floor waiting to be filled.


Dining Room

Entrance Vestibule - remember there is an inner hall and stairs beyond the door at the back

The Sitting Room

I am so excited to be moving upstairs and starting on the (largish) Music Room and a small Library. 


(01/09/016)