Sunday 28 January 2018

Pick ten

A reader asked me to pick ten basic pieces of equipment needed to get started.  Anyone who has been at this for a while will know that we have considerably more than ten 'things' and at the moment you need a specific thing, like a good pair of tweezers, nothing else will do but for most of the time they languish in their drawer.  So I tried to pick the things I use most often.

Your needs will also vary depending on whether you are just going to build a house and buy things for it or whether you are going to have a go at making things for it.  My list assumes the latter.

I presume most households have things like scissors, a small hammer, tape measures and those sorts of things.

These are in no particular order of usefulness.

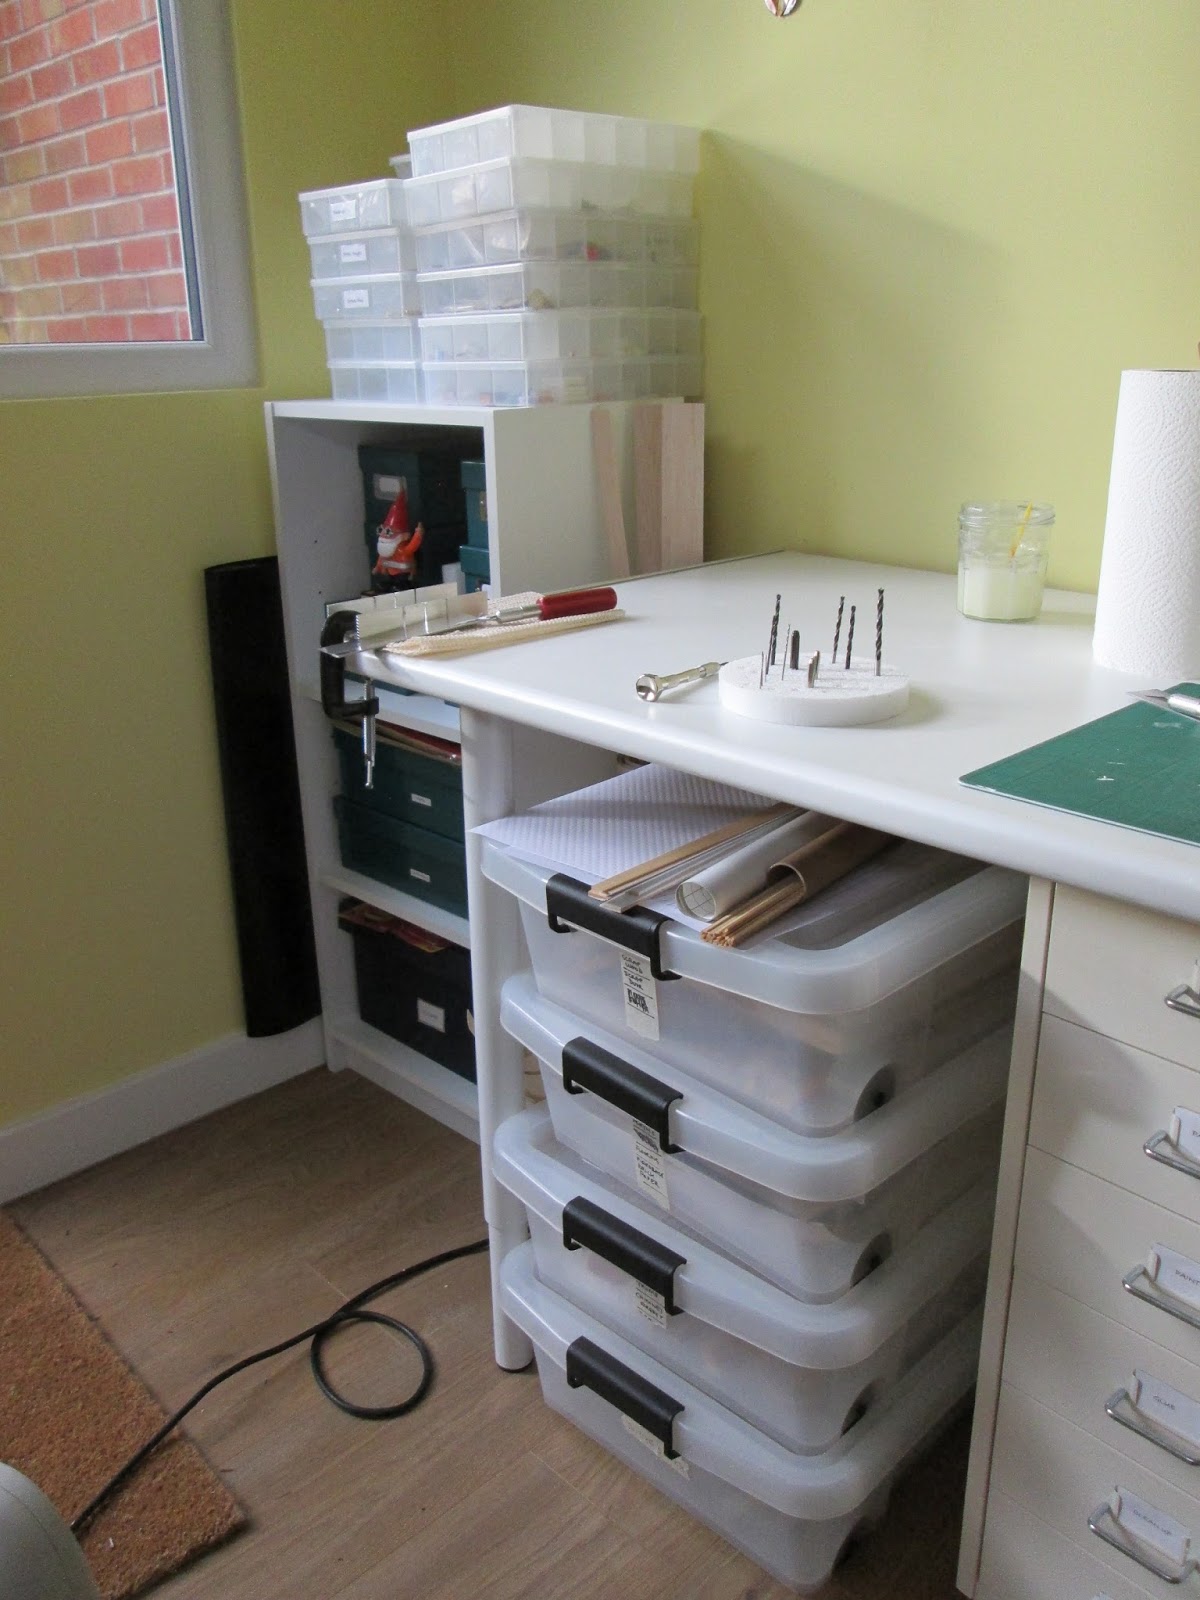
Clamps of any sort.  These are a couple of sets from a dollar shop.  If you see any cheap small clamps buy them they always come in handy.  The other 'clamp' is elastic bands - really useful for holding box shapes together while the glue dries for example.


Storage:  you can not have enough good storage.  Vital for being able to find what you want.  Again cheaply bought when I see them at a good price.  My mainstays are under bed boxes - mine have wheels which makes them even better for sliding in an out under the work surface.  The plastic boxes in the background were bought for two dollars each from the bead section of Walmart.  They are divided into smallish sections and are perfect for storing all the teeny things to dress a house or findings etc for making things.  I am going to cheat here and add in something which takes me over my ten.  You can just see a green cutting mat in the photo - essential to keep your knives sharp and surfaces cut free.


Toothpicks/cocktail sticks are the most important tool on my desk.  They have endless uses - the most obvious is for applying small amounts of glue but they clean up paint and a seem to do a myriad of other tasks. This is my stash in a drawer.


Drill and bits.  I am sure if you can afford it you can buy several small  electric drills - like a Dremel and a right angle drill and your life will be considerably easier.  In the main you need to drill holes through walls and ceilings for wiring lights and fires etc.  I have managed pretty well with a small hand drill.  There are better ones than this - just remember you are working in a confined space.  My drill bits are just shoved into a piece of polystyrene packaging.


Sanding.  I didn't say sandpaper because I don't use it much.  You will need about 400 grade for most things you do.  In the main I use those blocks that you get for manicures.  Again very cheap and as they have four sides they last ages and are perfect for fine finishing a piece of furniture.


Brushes.  Gather as many cheap (but good) brushes as you can as you bowl along.  You can find some very nice sets in hobby shops and it is worth having any old shape and size they will always come in handy.  Among them you will discover the one you like best for this and that.  I like small straight edge brushes for most painting.  Don't be precious about them, be prepared to pass them over to the glue brush store when they aren't up to scratch - use them for glue so you get a bit more life out of them. 


Mitre block and saw:  This is an essential piece of kit for cutting skirtings and other mouldings.  You can buy a large pair of scissor-like right angle cutters which people swear by but I have never tried them.  Making good corners is all about practice, practice, practice.


Right hand jig.  This has been a real bonus tool for building kit after kit.  I have the small (again, cost cutting) magnetic version  but it has served me well.  You can glue wood together using the right hand corner to keep things squared up and lock it in place with the magnets and leave to dry.  You can easily make a right hand jig yourself from scrap wood or Lego and I had one of those before this one but, if you can find one of these and can afford it I commend it to you.


Steel Rule.  Absolutely essential for a straight edge when cutting materials with a knife.  Mine does not have a finger guard and I have a shaved thumb to testify to that.  If you have to buy one, invest a little more and buy a straightedge with a guard.


Knives.  Like me you will read time and time again that the safest knife is a very sharp one.  This is absolutely true.  You will need a good Xacto knife and a lot of blades.


I hope this is a help.  Anyone who has another essential piece of kit please let us all know in the comment section below.

Saturday 20 January 2018

Trims and furniture fiddling

By the time you get to house build five you get pretty nifty at putting in simple profile trims.


The under counter fridge rather stopped me from putting in full size skirting boards in the kitchen as I couldn't get it down the side of the fridge.  It would look odd stopping at the fridge door (and prevent it from opening in real life) so I opted for the solution I did in the mud room and just added a small trim to match the floor like you sometimes get with laminate flooring.


The sitting room took a matter of minutes to cut six pieces of trim and glue them in place.  This still looks a bit 'rough' as I haven't gone back in with paint to fill any gaps.  I started late in the day and the light was too poor for fiddling around with a fine paintbrush.


So..... late afternoon, poor light in the Dalton House, no time left in the day to start fitting the lights on this level..... might as well play around with furniture.  The cardboard box is standing in for a yellow and white sideboard I still have to make.  Not sure if five seats in a small apartment is overkill?  Nice to have friends......


This is the sparse version - will look better with rug and pictures on walls and leaves room to dot coffee table or side tabes or other bits and bobs around.

So which one to go for.....????

(If you do want detailed information on how to fit trims just go to the 'Labels' section in the left hand column of the blog and click on trims - you need to have the blog open on a browser and not just be reading it in your email)

Saturday 13 January 2018

A Rug ..... for now

I have a wretched time finding any rug I like.  Every project has been the same - bar one - when I discovered a great rug maker and maker of 'lino' and all kinds of interesting floorings, all historically accurate and beautifully made.  By the time of the next project she had stopped working!  So four out of five of my builds I have flailed around trying to find rugs that are even acceptable. I fairly recently paid forty pounds for a couple of rugs printed for me with all kinds of assurances from the maker that the colours would be accurate etc etc.  My required pale pink and faded mossy green sitting room rug arrived in shades of yellowy, beigy, allsorts and the sharp black and gold music room rug was muddy brown and lighter muddy brown!  I rest my case.

At Christmas I bought a couple of packets of very cheap felt from the hobby shop to make stick-on reindeer noses and eyes..... don't ask.


It occurred to me to try printing a rug on the white sheet that was in the pack it they looked to be the right size for the printer and seemed more 'stable' than ordinary felt fabric.


So, OK, it is a long way from perfect but it is as good as any I have paid an arm and leg for.  Indeed I might be happier that it is not so bright as the paper version lying on top of it.  My husband did say the colour could be increased and I could tweak this and that to get it better, but for now this will do just fine.  I may have another go when I have time.  It was good enough to know it can be done without bunging up the printer and exploding my other half's brain.

Moral of this story is - if you think it, try it, you never know your luck.

Saturday 6 January 2018

Step by step wallpapering


Happy New Year - I made it back on time - just about.  I confess to having papered the room after lunch on Saturday which is my blog post day, but here I am.  Hopefully I will be able to keep some progress going on my project and stop by and share with you each week.  'What japes, Pip!'

I have done a ton of stuff about wallpapering through my many blogs and even YouTube but I thought I might offer a step by step instruction here for any newbies.  Apologies to the 'got it sorted' folk; hopefully I might have something a bit more interesting next week.

1.  Measure the height of the room


2.Trim one long edge of your paper if it needs it for any reason.  This is is on a sort of photo quality paper and has a white frame all round.


3.  Work out the width of the strip you need to cut.  Here my room height is 7.75 inches and the total width of my skirting board and small coving that is going in is about an inch.  I want the trims to slightly overlap the paper (this gives the neatest edge) but leave some wood bare for the trims to adhere to; this is better fix than just sticking the trims on top of the wallpaper.  So I will cut my strips 7 inches wide.


4.  Start with the paper for the back wall.  Score gently on the back of the paper a bit under a quarter of an inch in from the edge and fold it sharply over.  This will allow the paper to go into the corner neatly and give a slight wrap over onto the side walls.  No walls of a dolls house fit snugly together as they do in a real life plastered wall and so there is always something of a slight gap.   If you do this little overlap, it doesn't show in terms of wallpapering and it covers that gap nicely.


5. Snug the paper tightly into its corner using the folded edge.  Hold it firmly and then make a firm crease (fingernail will do) where the other corner will be.


6. Fold it over well and make a very sharp crease


7.  Trim a small edge like you did for the other side.


8.  Cut the paper for the two side walls without a folded edge


9.  The glue I use is a ready made border adhesive.  I am fairly sure it is probably just a basic PVA glue (like Aleene's etc) but it does feel silkier and goes on more easily - maybe it has water or something else added?  I have experimented with watering down PVA and using wallpaper paste etc but this is decidedly the easiest, cleanest and cheapest glue for papering for sure.


10.  Get a surface you don't mind cleaning up like this silicone baking liner (!) because you will make a mess.  Go over the back of the paper generously with a wiggle of glue and then spread it smoothly and evenly over every teeny bit of the paper taking care to take it to the very edge.  Easiest way to do this is with your hands and smear it until it feels evenly coated and sweep over all the edges to make sure they are covered.  I said it would be messy.


11.  Line up one of your folded edges carefully into the corner of the room.  Press down along that edge, taking care to make sure the little overlap on the side wall is well glued down.  Then work you way gently across the paper, dabbing and smoothing with a soft cloth (and your hand) to the other creased corner.  Handle the paper carefully to avoid getting glue on the surface.  If you do smear it, just try to clean it off with a slightly dampened cloth, try not to rub.  All papers and prints will behave differently.  At the worst you will have paper that sucks up liquid and tears and breaks when it is only slightly damp and sometimes you find printing with colours that run or smudge.  As with everything in life it is generally best to buy the best quality you can afford from a reputable merchant.  I have only ever had one absolutely useless paper and I very soon realised it was unusable so gave up on it and bought something else.  So, if you find dreadful things are happening when you are wallpapering it may well be the paper not you -  don't give up, just try another choice.


12. Clean and dry your pasting surface between pasting each piece of paper to make sure the good side stays clean.  Paste and stick up the other two walls and..... voila....one wallpapered room.